Main Integration Setup
- Go to the GeekSeller Master Panel > Integrations > Add New Integration > ShipWorks to activate the extension and get your credentials.
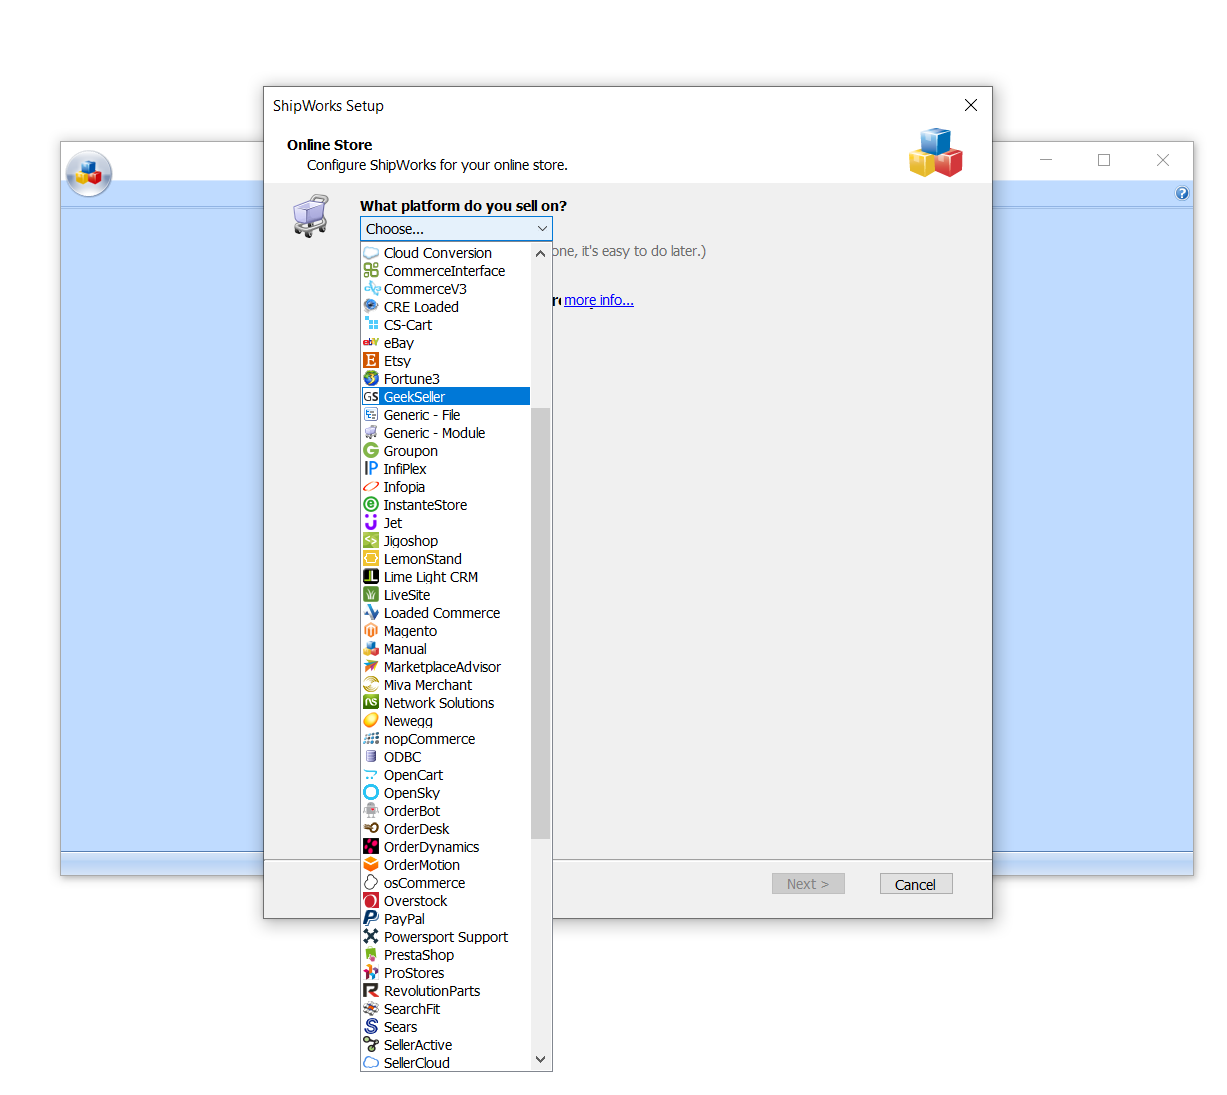
- Open your ShipWorks application (downloadable from their official page), then go to Manage > Stores > Add Store > GeekSeller
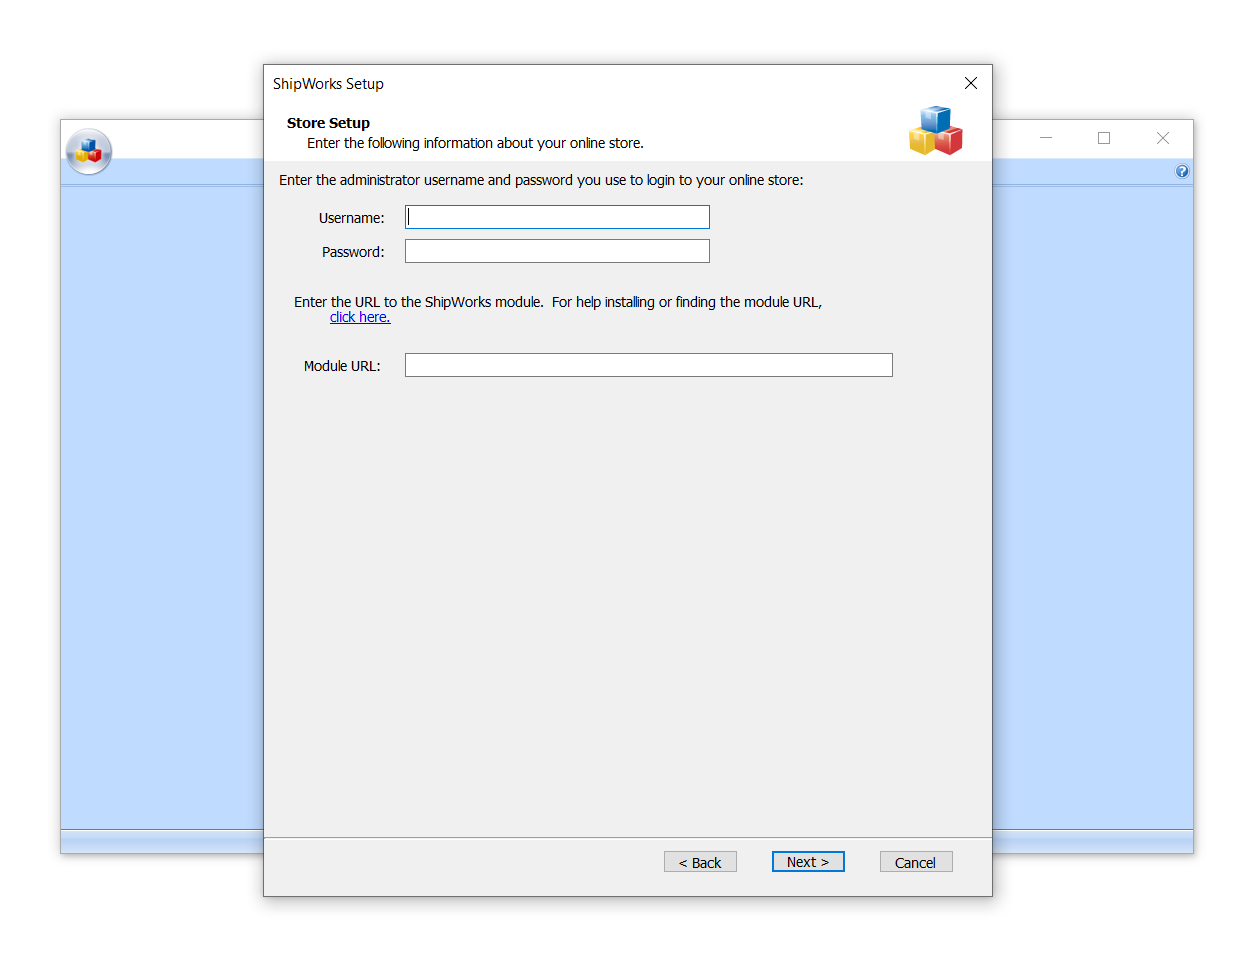
- Provide your username, password, and URL; available on your GeekSeller ShipWorks integration page, referenced in step one.
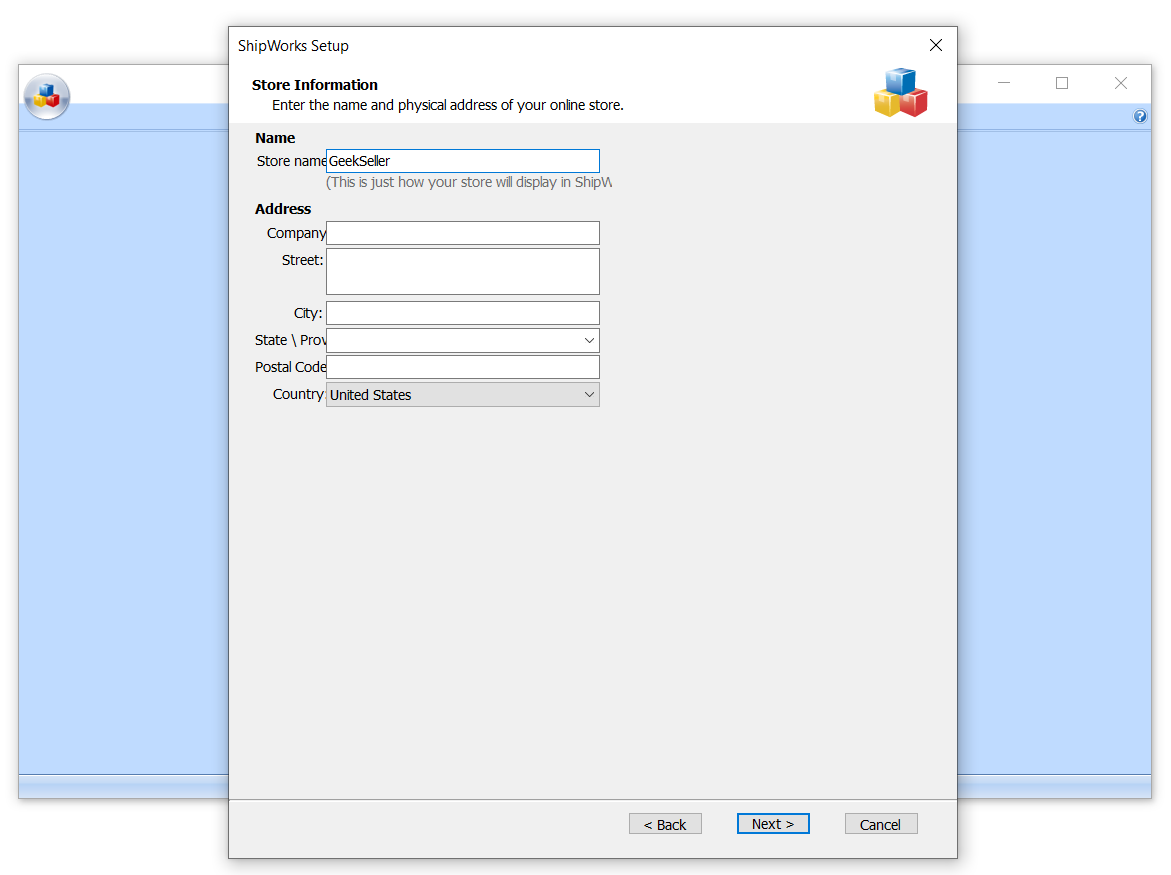
- Next, provide the requested information including your store location and name. We suggest keeping the name “GeekSeller.”
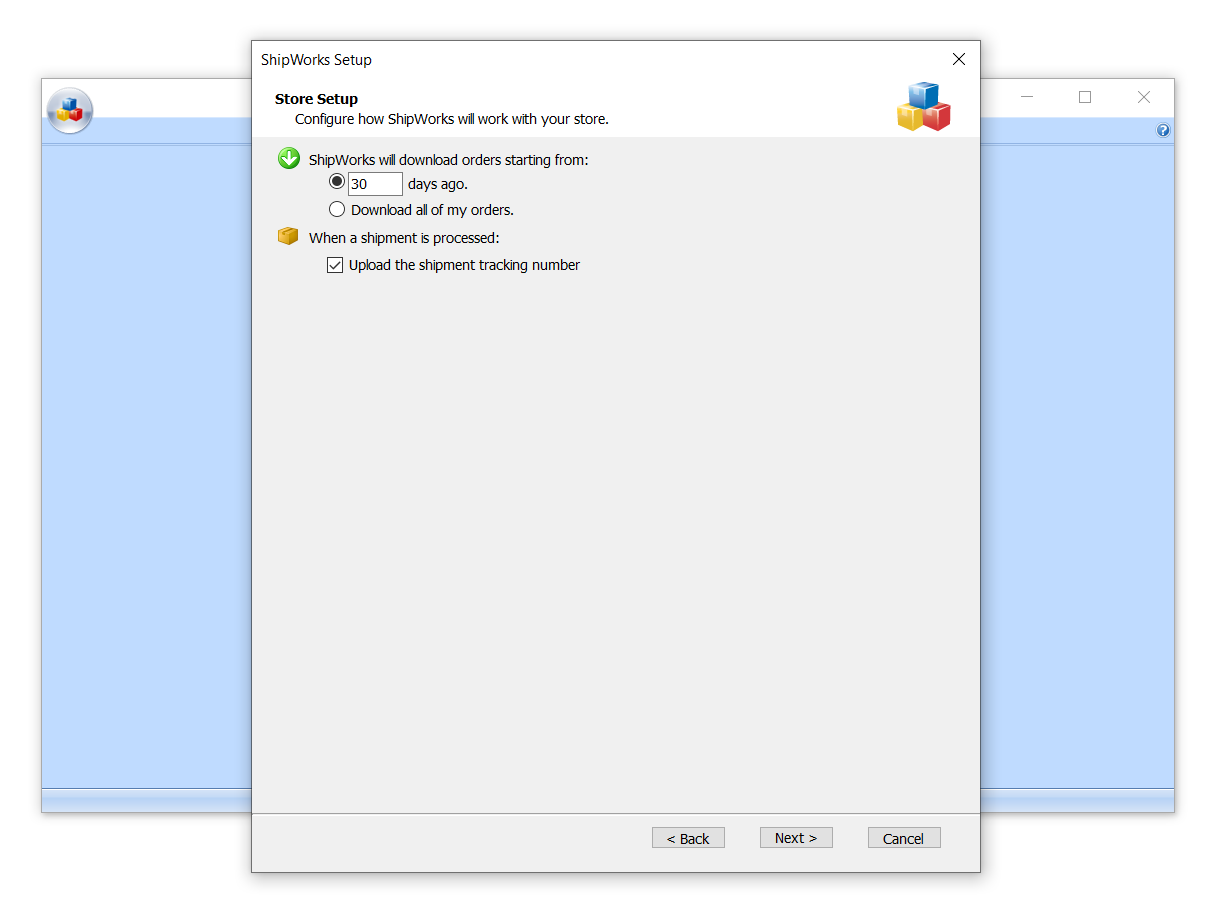
- Lastly, pick the number of days and select “Upload the shipment tracking number”
- Click Next and then Finish. Then, click Close.
Your GeekSeller orders will begin to download into ShipWorks automatically. - All of your GeekSeller orders will now go to one folder, but you can use filters to divide orders by marketplace thanks to the text we send via notes.
Optional Customization
- Right-click on the GeekSeller folder and select Manage Filters

- When creating a filter make sure it only goes under the main GeekSeller store.

- Create a filter starting with: Contents > For any > Note…
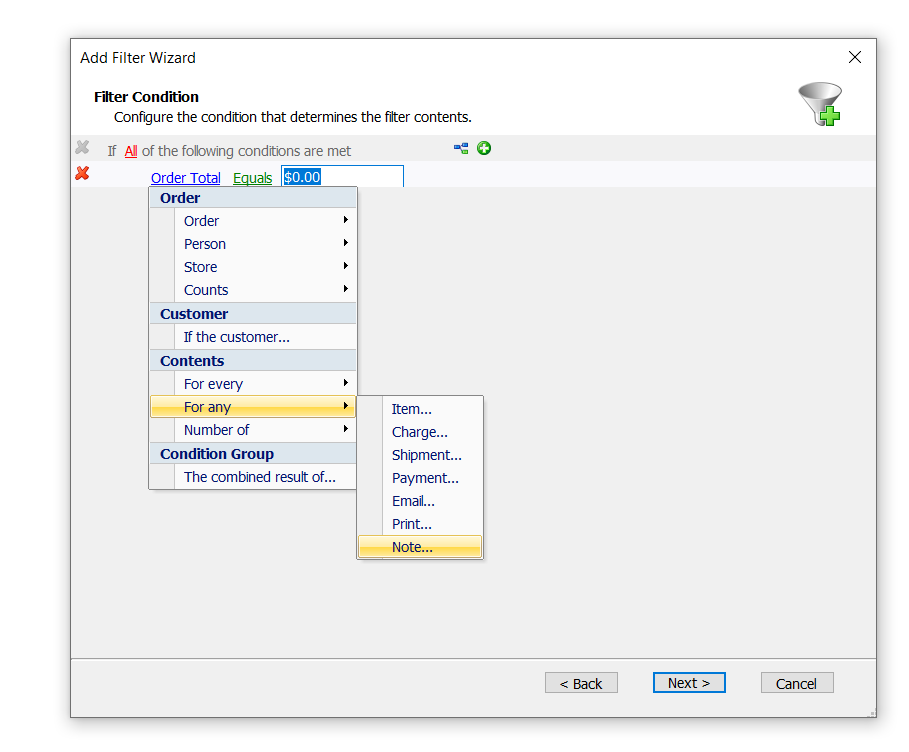
- Note text contains Platform:<marketname>, as shown in the screenshot below:

Available marketplace values include: shopify, google, walmart, walmartca, walmartdsv, ebay, amazon, bigcommerce, overstock. Contact our support team if you don’t see a marketplace that you need. Be sure to use all lowercase letters. - You can customize the columns in the filtered view. Keep the default settings and click Next.
When set up correctly, you will see filters under your main GeekSeller folder:

Shipping orders
You only need to create a label with a tracking number; there is no need to manually mark orders as shipped in ShipWorks.
Order statuses
Every time ShipWorks communicates with GeekSeller, it reads order status data. Manually changing statuses to “Complete” will not impact the status. To complete the order you must provide a tracking number and the status will change to Complete when GeekSeller submits it to the marketplace.
