Follow the steps below to activate ShipStation integration on your GeekSeller account and connect marketplaces.
1. Access the ShipStation Integration in GeekSeller
Login to your GeekSeller account, then go to Integrations > click Add New Integration and select ShipStation:

You can add as many GeekSeller stores to ShipStation as you need.
2. Select Warehouses and Marketplace
On the edit page, select which marketplaces and GeekSeller warehouses you want to connect to ShipStation. Orders coming to selected warehouses will be sent to your ShipStation account. Reach out to GeekSeller support if you need help with this step.
The setting below will send all Walmart and Walmart Canada orders to the GeekSeller store in ShipStation, which you are about to create.

3. ShipStation API Credentials
Log in to your ShipStation account and go to Account > API Settings. Copy your API and Secret Keys to add to GeekSeller ShipStation integration. If you need to regenerate your API keys you can follow the steps in this guide. (Note that regeneration will make the previous key invalid)

4. Create a GeekSeller Store in ShipStation
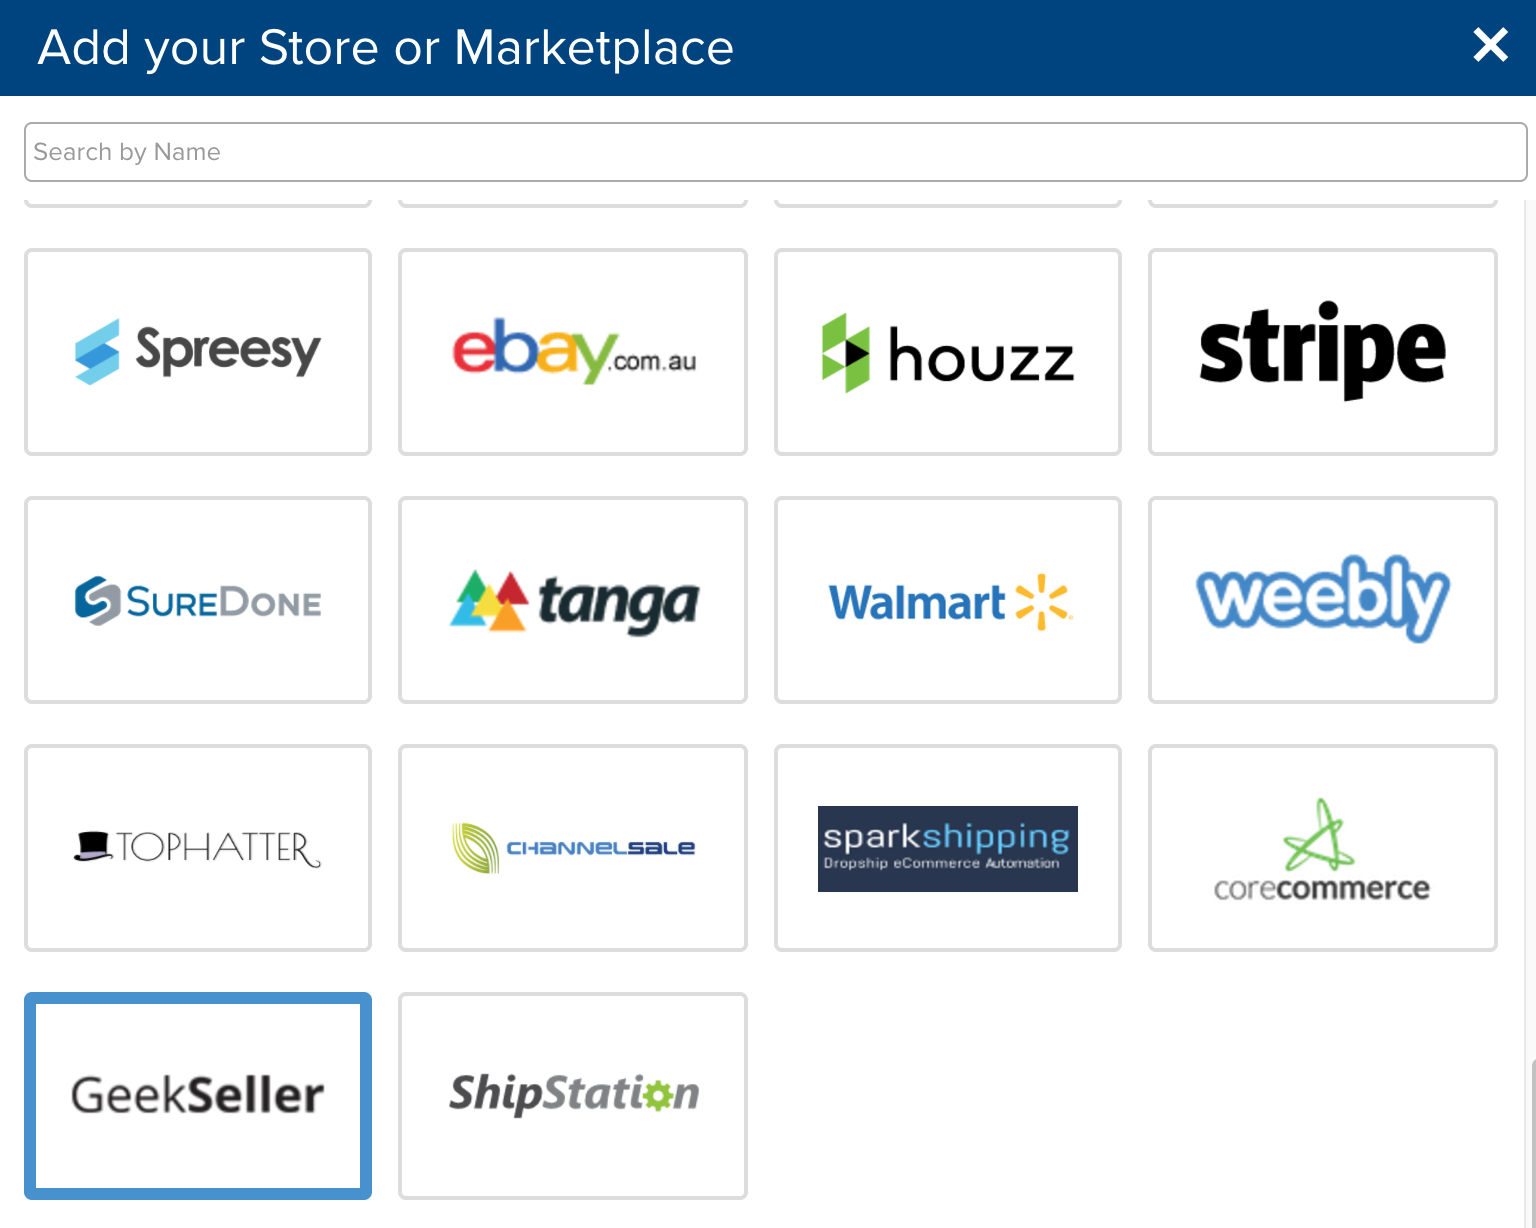
From your ShipStation account, create a GeekSeller store by going to Selling Channels > Store Setup and choosing the GeekSeller logo. This is the store where you will see orders from your connected marketplaces and warehouses that you selected previously.
Provide the XML username and password to ShipStation in order to set up your new custom store.

5. Select a Store
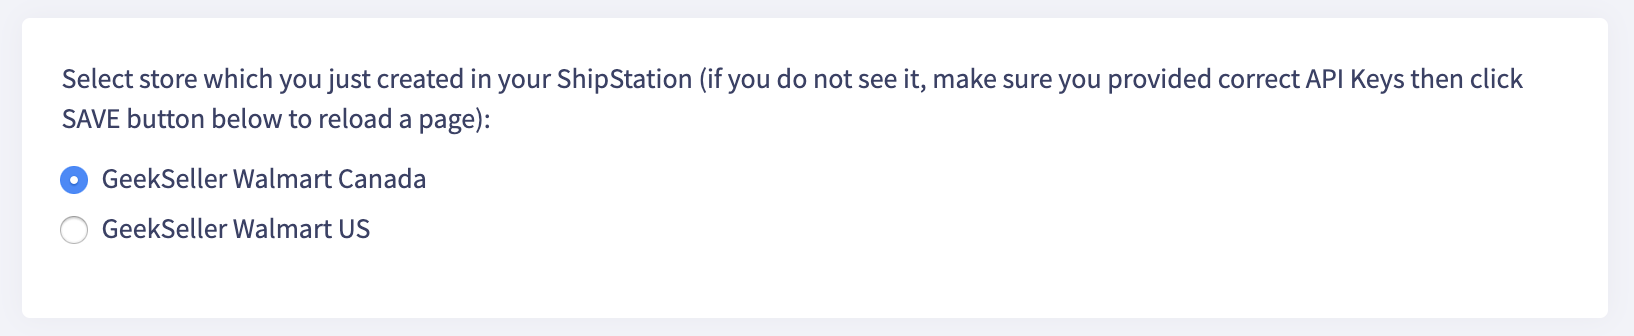
After you save this page, you will be shown a list of your GeekSeller stores from ShipStation. The one selected will be the Store you created using the credentials from the previous step.

Step 5. Advanced Integration Settings
At the bottom of the ShipStation integration page, you’ll see the “Advanced Store Settings” link. You will need to consult GeekSeller support if you are unsure about the default options:
- Enable automatic submission of orders to ShipStation
To have your orders go to ShipStation automatically, keep this option turned on. Otherwise, orders will be sent only if it is triggered from within ShipStation. - Return empty XML
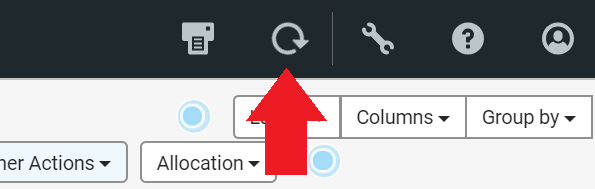
- Turning this OFF will allow you to force sync using the button shown above. However, this method does not send the “Ship By” value to ShipStation.
- Turning it ON removes the option to sync it on demand so that order information is sent to ShipStation by GeekSeller and GeekSeller controls when (every 10 minutes) they are sent to ShipStaion. In this case, all data including “Ship By” information will be transferred to ShipStation.
- You can pass information from your orders to ShipStation’s custom fields and order notes:
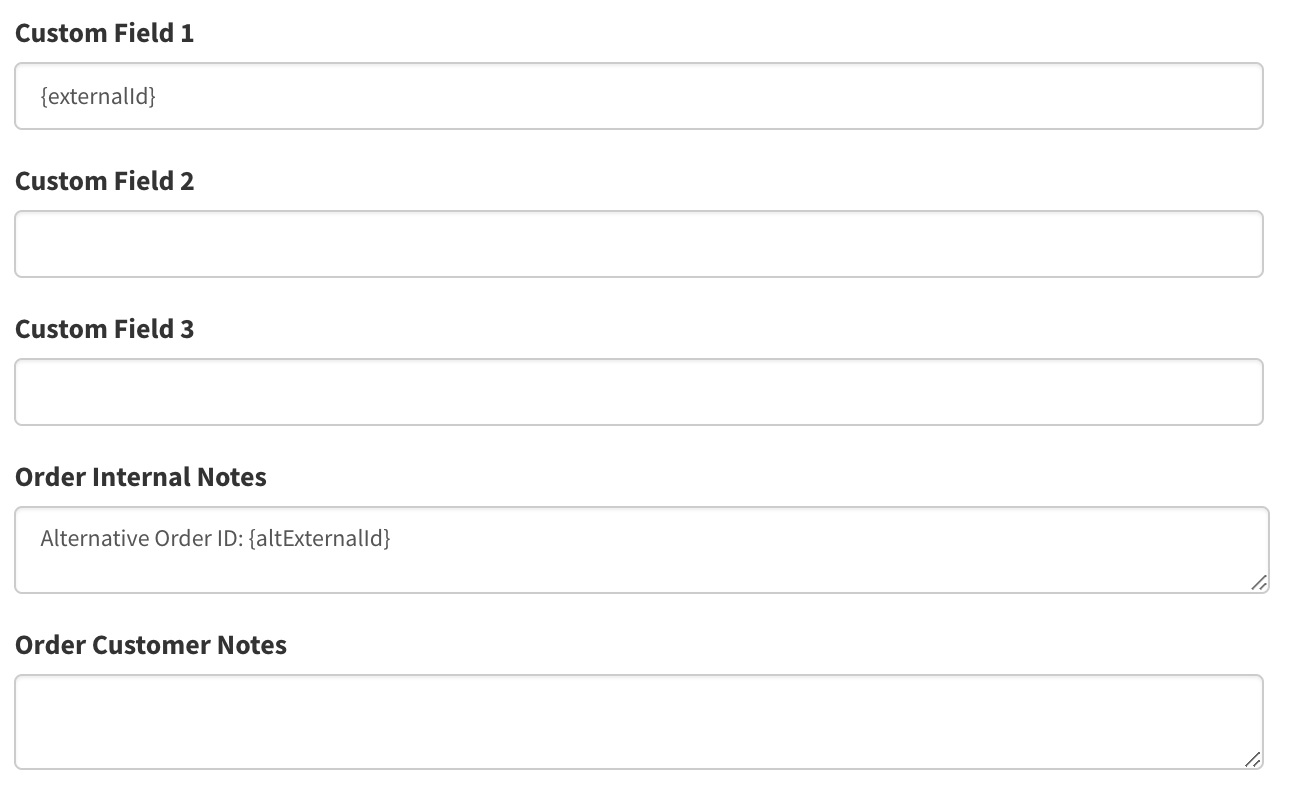
You can use the following variable:
{marketplace}
{externalId} – It will add the order ID to the note
{altExternalId} – It will add the alternative order ID to the note
{placedDate}
{totalAmount}
{requestedCarrier}
{requestedMethod}
{requestedShipBy}
{requestedDeliveryDate}
{masterNodeName}
{S2SLabel}
{customerNotes}
{merchantNotes}
{tags}
6. Set up and Customization
GeekSeller sends ShipStation information about the source of order. You should add the “Source” column to your view to see which marketplace an order came from:

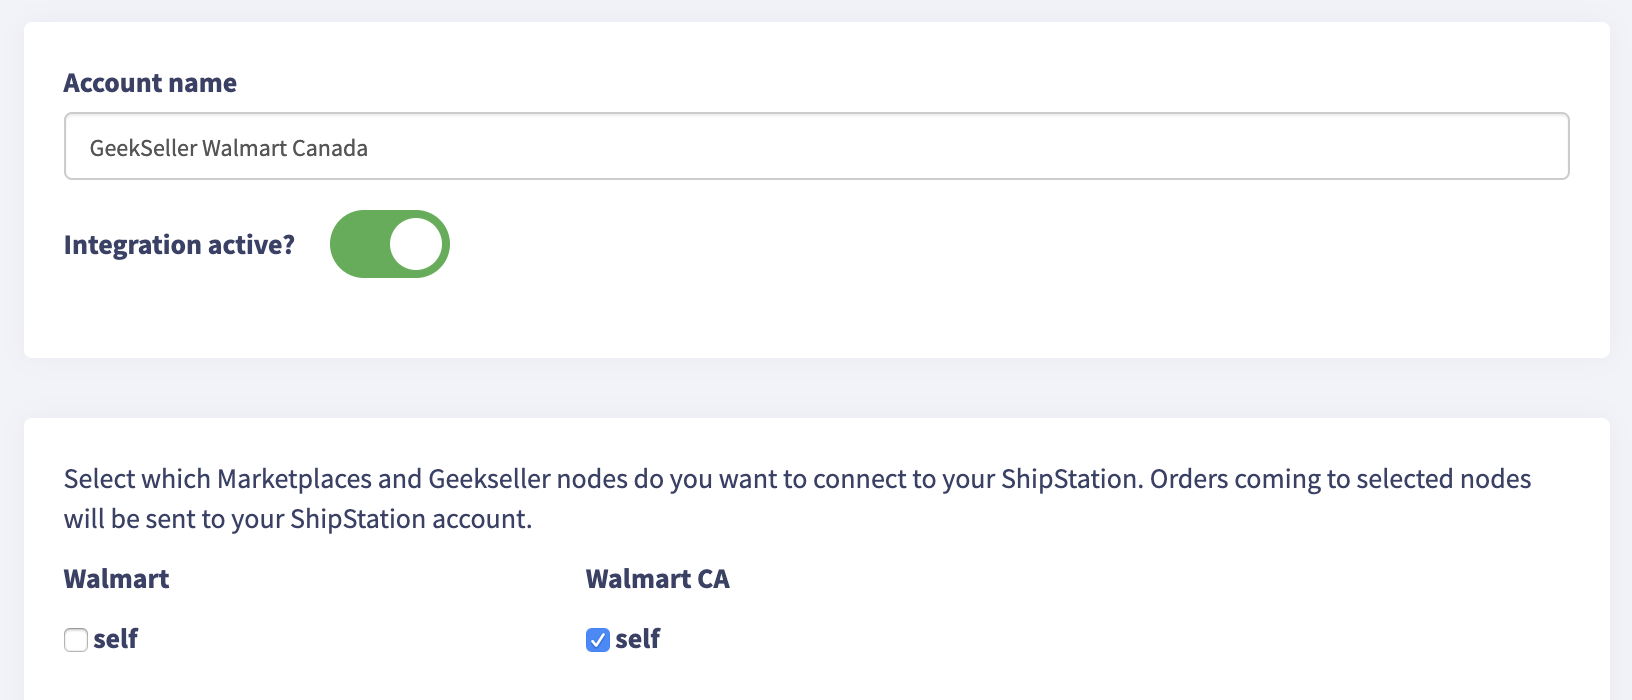
Creating Multiple GeekSeller <> ShipStation Integrations
You can create as many connections between GeekSeller and ShipStation as you want. This is useful if you need separate GeekSeller stores for different marketplaces. For example, you can name one store GeekSeller Walmart Canada and only send Walmart Canada orders to that warehouse:
Then you can create another store called GeekSeller Walmart US, and send to this store only US orders:
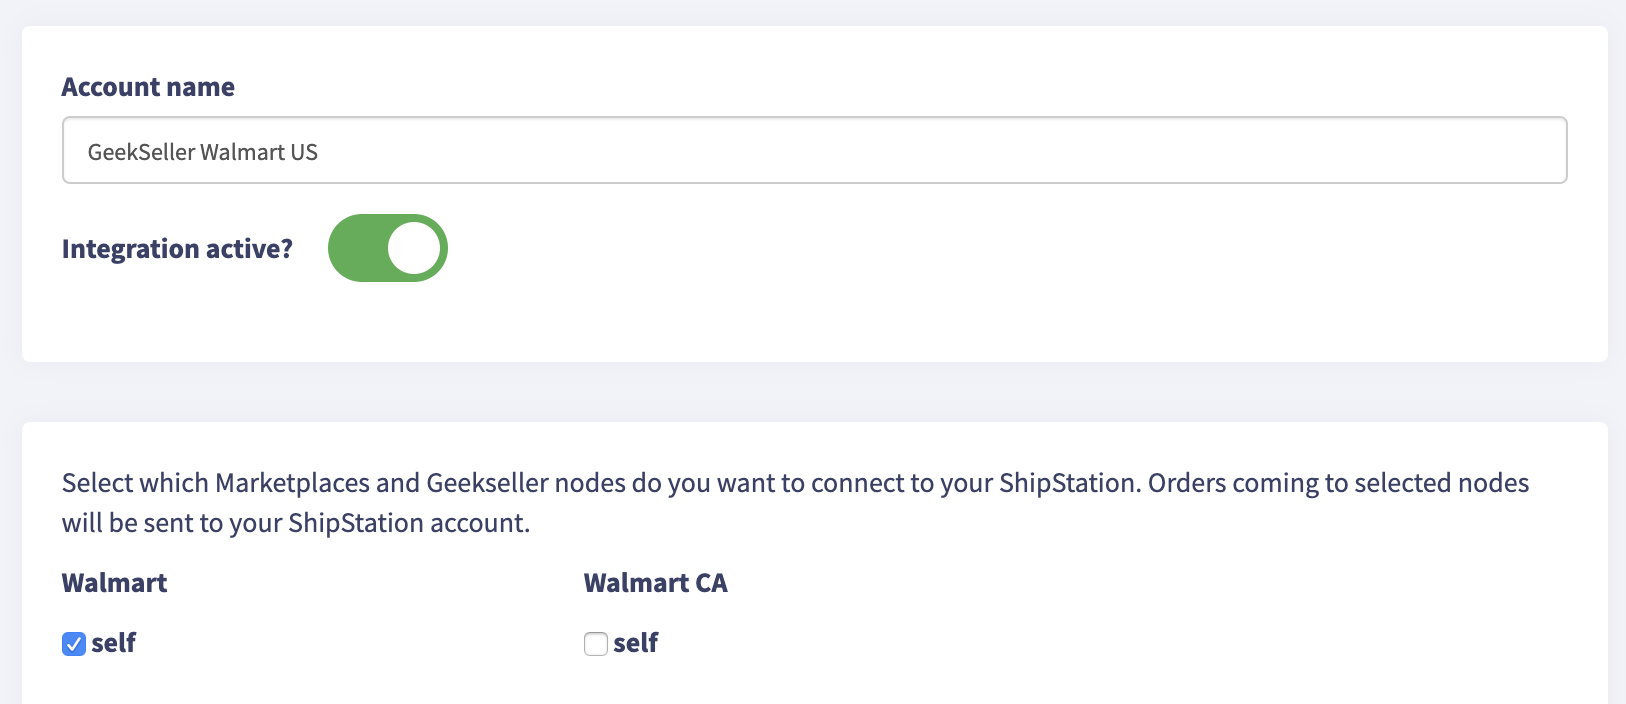
Be sure to properly name your stores in ShipStation. Do NOT name all of them “GeekSeller,” as you will need to be able to identify them on the GeekSeller side: